Basic Concepts
This tutorial will give you a quick introduction about how to use Python within the Game Engine. Basically, it will enable you to start with Python scripting avoiding typical errors and wrong paths.
When writing Python code for the UPBGE we recommend to keep the UPBGE Python API open as reference. You can find it here: UPBGE Python API.
If you don’t know enough Python to begin
This tutorial is not a tutorial to teach you Python. If you don’t know enough Python to begin, find an online Python beginner tutorial, and learn the basics. Some recommendations:
- This one essentially looks amazing (make sure to go through the different chapters!):
- Maybe a lot to read, but at least they explain a bunch of things, you don’t have to rush:
- Another good one:
Just pick your poison. Take your time and learn the basics :-). If you go through it, you’ll be ready to try your new spells on the UPBGE!
Logic Bricks: Python Controller

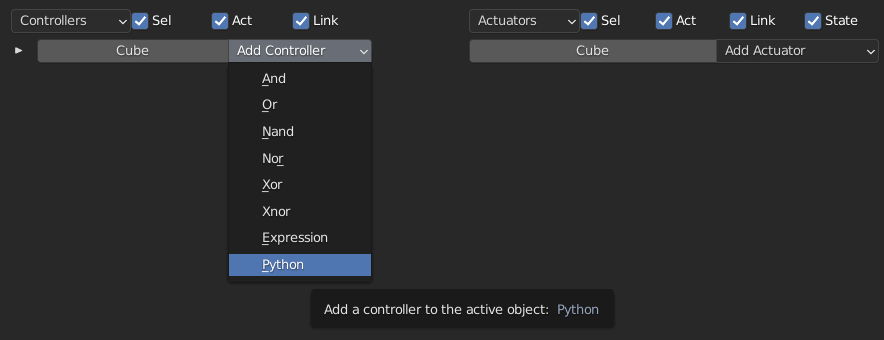
Controller brick at Logic Bricks editor
A Python controller is basically a logic brick that you can program using Python scripts.
If you look at how a controllers usually behave, they do pretty simple things:
ANDController: When all connected sensors are positive, activate all connected actuators.ORController: When one of the connected sensors is positive, activate all connected actuators.NANDController: When no connected sensor is positive, activate all connected actuators.XORController: When only one of the connected sensors is positive, activate all, etc.
These are all basic logic gates, but what if you want more control? What if you want to test if a sensor is positive, and actually check some values from it?
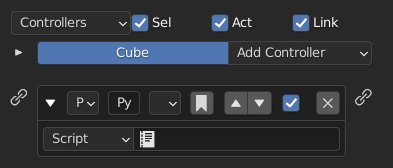
This is when you use a Python controller:

Python controller at Logic Bricks editor
Note
You need at least one sensor connected to the controller in order to trigger it! It can be anything, but the trigger comes from a sensor.
Now to write a script, open UPBGE text editor, and start writing your first script.
So, little bit of disclaimer: When people see programming code, they usually go “that’s so hacker, it is too complex”. But fear not: Programs are written using English words, a bit like a recipe! It is a simple list of instructions to get from a state A to a state B.
import bge # the module to interact with the Blender Game Engine

# When this script gets executed by a controller (when it will be its turn)
# the following variable will point to the current running controller.
# The BGE executes each controller one after the other, but boy is it fast.
controller = bge.logic.getCurrentController()

# Controller "objects" (in Python) have a property named ".owner" that
# refers to the object owning the currently running controller.
# This is because this script can be shared by different Python controllers
# attached to other objects. Since we will run multiple times in a different context,
# this line allows us to figure out what object is currently running the controller!
owner = controller.owner

# In this example, let's do something silly, and move the cube up
owner.worldPosition.z += 0.1

# Let's make it turn too
owner.applyRotation([0, 0, 0.1]) # [x, y, z]
Lot of comments in this code, but if you read the code word by word, it is pretty easy to understand what is going to happen once the Python controller will execute it!